
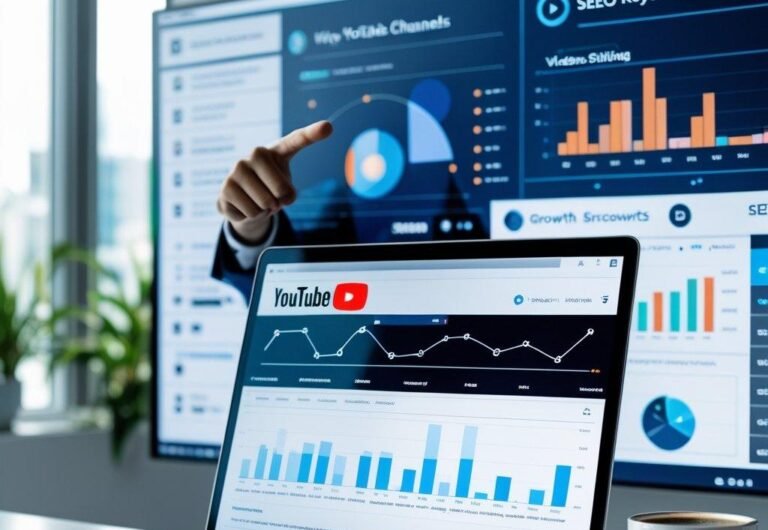
How to Create a YouTube Channel on PC & Phone: Step-by-Step Setup Guide
Making a YouTube channel on your PC or phone? It’s honestly pretty easy once you know the steps. You just need a Google account, and with a few clicks or taps, you can set up your channel and start sharing videos with the world.
Whether you’re in it for fun, hoping to build a brand, or just want to see what happens, this guide’s got you covered for both PC and phone setups.
Both the PC and phone setups are designed to be user-friendly. You’ll see how to create your channel, tweak its look, and upload videos without much hassle.
Even if you’re not super tech-savvy, it’s doable. You’ll pick up a few tips for making your channel pop and maybe even reach a bigger crowd over time.
What You’ll Learn?
- All you need is a Google account and a few quick steps on PC or phone.
- Customizing your channel and uploading videos is simple, no matter your experience level.
- Good strategies can help your channel get noticed and grow steadily.
Essential Requirements Before Setting Up
Before you dive in, you’ll want to decide what kind of account you’re making and how it’ll connect to your Google account. This stuff matters for how your channel looks and who can run it.
Choosing Between Personal or Brand Account
You’ve got to pick if your channel is personal or a brand account. A personal account uses your name—great if you’re just sharing with friends or doing personal projects.
But, if you want more people managing the channel, or you’re building something bigger, a brand account is the way to go. It lets you pick a custom name and add team members.
Key Differences:
| Feature | Personal Account | Brand Account |
|---|---|---|
| Account Name | Your personal Google name | Custom brand or business name |
| Multiple Managers | No | Yes |
| Access to Google Tools | Basic | Full access, including brand tools |
Understanding Google Account Integration
Your YouTube channel is tied to your Google account, so you’ll need a Gmail or another Google-linked email before you start.
Your Google account handles:
- Signing into YouTube
- Managing your channel and settings
- Accessing YouTube Studio for uploads and stats
If you’re planning on a brand account, it’s smarter to use a separate Google account, not your personal one. Keeps things cleaner, honestly.
Just double-check your Google account is set up, secure, and that you can access it from both your PC and phone. No Google account, no YouTube channel—it’s that simple.
Want more info? There’s a handy step-by-step guide if you need it.
Step-by-Step Channel Creation on PC
Making your YouTube channel on a PC is pretty straightforward. You’ll start in YouTube Studio, which is basically your command center.
First, sign into YouTube Studio, set up your channel name, and fill in the details. This gives your channel a clear vibe and makes it easier for people to find you.
Accessing YouTube Studio
Open your browser and head to YouTube.com. Hit “Sign In” at the top right and log in with your Google account, or make one if you need to.
Click your profile picture in the top right. In the dropdown, pick YouTube Studio. That’s where you’ll manage everything—settings, uploads, stats. Honestly, it’s where you’ll spend most of your time.
Creating Your YouTube Channel
Inside YouTube Studio, click your profile picture again, and choose Create a Channel. You’ll need to pick between a Personal Channel or a Brand Account.
Personal is for solo creators. Brand is for teams or businesses. Pick what fits, confirm, and you’re on your way.
Adding a Channel Name and Description
Time to name your channel. Pick something simple, memorable, and that fits your vibe. You can always change it later, but starting strong helps.
Write a quick description that tells people what you’re about. Use a few keywords, but don’t overthink it. You can always update as your channel evolves.
Step-by-Step Channel Creation on Mobile Phone
On your phone, you’ll use the YouTube app to set up your channel. It’s quick and works on both Android and iPhone.
Using the YouTube App
Download and open the YouTube app. Sign in with your Google account. Tap your profile in the top right and pick “Create a channel.”
The app will suggest a name based on your Google account, but you can edit it or use a brand name. Confirm, and boom—your channel is live.
Works on both iOS and Android, and you can handle settings or uploads right from the app. No computer needed.
Setting Up Channel Details on Mobile
Go to “Your channel” and tap “Edit channel.” Here, you can add or change your profile photo, channel banner, and description. Pick images that really show what your channel’s about.
Write a short, direct description about your content. Helps people know what to expect right away.
Add links to your socials or website under “Links” in settings if you want. Might as well make it easy for people to find you elsewhere.
Check your privacy and notification settings so your channel works how you want. You can always tweak stuff later. Need a visual walkthrough? There’s a step-by-step guide here.
Customizing Channel Appearance and Branding
Your channel’s look is a big deal—it helps people recognize you, and honestly, first impressions matter. Upload a profile pic, make a banner, add your socials and a clear description. It just makes everything feel more legit.
Uploading a Profile Picture
Your profile pic shows up everywhere—next to your name, on videos, in comments. Make sure it’s clear and fits your brand. Aim for at least 800 x 800 pixels for best results.
To upload or change it, hop into YouTube Studio on your PC, go to Customization, then Branding. Click Upload under Profile Picture and pick your image. On mobile, just tap your profile, go to Your Channel, and edit the pic.
Creating a Channel Banner
The banner is the big image across the top of your channel. It should look good and match your channel’s theme.
Best size is 2560 x 1440 pixels, but keep important stuff inside 1546 x 423 pixels so it doesn’t get chopped off on different screens.
Upload your banner in YouTube Studio under Branding. Simple designs, bold fonts, and not too much clutter work best.
If you want, you can add your upload schedule or a “Subscribe” note in the banner. It’s your channel’s handshake, so make it count.
Adding Social Links and Channel Description
Add your social links or website so viewers can find you elsewhere. In YouTube Studio, under Basic Info in Customization, there’s a Links section.
Click Add Link, put in the name and URL. You can add up to five, and they’ll show up as icons on your banner.
Write a short channel description. Mention what you offer and slip in a few keywords, but keep it natural. This shows up in search and helps people get your vibe fast.
Want a deeper dive? Check out this YouTube channel customization guide.
Planning and Developing Content Strategy
If you want your channel to grow, you’ll need a plan: Who’s your audience? What topics will you cover? How often will you post? It’s worth thinking about, trust me.
Identifying Target Audience
You really need to know who you’re making videos for. Think about their age, what they like, what annoys them, and what makes them smile.
This lets you create content that feels like it’s just for them.
Try making a quick profile of your target audience:
- Age range
- Interests and hobbies
- Common questions or problems
- Favorite video styles (tutorials, reviews, entertainment)
Knowing your audience guides your video ideas and even how you talk on camera. Don’t try to please everyone—pick a group and stick with them if you want real fans.
Brainstorming Video Ideas
Video ideas should always tie back to what your audience cares about. Jot down topics that help them out or just make them laugh.
Here are some ways to spark ideas:
- See what’s trending in your niche
- Answer questions your viewers have
- Use keyword tools to check what people are searching for
- Jump on trends that fit your channel
Sort your ideas into buckets—like tutorials, reviews, or just-for-fun stuff. This keeps your channel fresh but still focused.
Write down every idea, even the weird ones. You never know what’ll work.
Establishing a Consistent Schedule
Posting on a regular schedule helps people know when to expect new stuff. Figure out how often you can actually film and upload without burning out.
Here’s a quick look at common schedules:
| Frequency | Benefit | Challenge |
|---|---|---|
| Weekly | Steady growth and engagement | Requires steady effort |
| Biweekly | More time per video | Slower channel growth |
| Monthly | High-quality content possible | Hard to keep viewer interest |
Pick a pace you can actually keep up with. Use a calendar or reminders so you don’t miss uploads.
Being consistent helps with the YouTube algorithm, and your viewers will appreciate it too.
Basic Video Production and Equipment
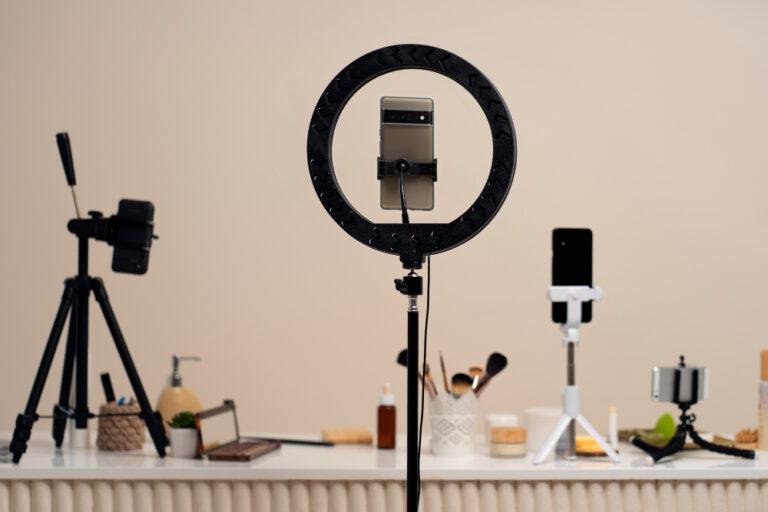
Having the right tools makes a difference, but you don’t need a fancy setup to start. Even basic gear can help your videos look and sound good.
What you use to film matters, whether you’re vlogging, gaming, or just chatting to the camera.
Choosing Video Equipment
Honestly, you can start with your phone or a webcam. Most phones shoot great HD video these days.
If you ever want to level up, a mirrorless camera is a solid choice. They’re lighter than DSLRs and handle low light better.
For audio, your phone’s mic is okay, but a cheap lavalier mic will cut down on background noise. Lighting’s important too—natural light is great, but a ring light or soft LED panels make indoor shots look way better.
Editing doesn’t have to be complicated. CapCut (for phones) and iMovie (for Mac) both make it easy to trim, add effects, and keep things flowing.
Recording Your First Video
Find a quiet, bright spot to film. A plain wall or a shelf with a few things works well for a background.
Set your camera on a tripod or stack of books—whatever stops it from wobbling. Before you hit record, jot down a few points or a rough script.
Speak clearly and keep the camera at eye level. That way, you’re talking to the viewer, not at them.
If you’re doing gaming content, screen capture software is a must. Mixing in webcam footage adds personality.
Don’t be afraid to shoot a couple of takes. Short, punchy clips are easier to edit and keep people watching.
Editing and Uploading Your Videos
If you want your videos to look pro and get noticed, focus on clean editing, good thumbnails, and searchable titles. The right tools and a bit of strategy go a long way on YouTube.
Editing with Mobile and Desktop Tools
Pick editing software that fits your device. On Mac, iMovie is a classic, and DaVinci Resolve is a solid free option for more advanced stuff.
CapCut is popular on mobile since it’s simple and has plenty of effects and text options. Keep your edits straightforward—trim the boring bits and keep things moving.
Background music or a quick voiceover can really boost your video’s vibe. Save your video as an MP4 before uploading; YouTube likes that format best.
Creating Custom Thumbnails
Thumbnails are your first impression, so make them count. Use bold colors and big, clear text that pops.
Canva and Adobe Spark are both handy for making thumbnails the right size (1280×720 pixels). Add your logo or a signature font so people know it’s your video right away.
Don’t cram too much in—simple is better. The thumbnail should hint at what’s inside and make people want to click, but don’t overpromise.
Writing Search-Friendly Video Titles
Your title needs to be clear and include keywords people actually search for. Imagine what your viewers might type into the search bar.
Stick to under 60 characters so your title doesn’t get cut off. Make it specific and honest, like “How to Edit Videos on iPhone with CapCut.”
Don’t use clickbait—if your title matches your content, people will trust you and come back for more.
Optimizing Your youtube Channel for Growth and Discovery
If you want your channel to grow, you’ve got to make it easy for people to find and stick with your videos. Use smart tools and keep things organized.
Track what’s working so you can make better choices next time. It’s not magic, but it helps.
YouTube SEO Basics
Make your videos easy to find. Start with keyword research—see what people are actually searching for in your niche.
VidIQ and TubeBuddy are both handy for finding popular keywords. Use these in your titles, descriptions, and tags.
Your title should grab attention and put the main keyword up front. Descriptions add details and boost your ranking. Tags help YouTube’s algorithm know what your video’s about.
Custom thumbnails with bright colors and clear images will get you more clicks. SEO isn’t glamorous, but it works if you want your videos to show up in searches and recommendations.
Setting Up Playlists and Sections
Playlists keep your channel tidy and make people watch more. Group your videos by topic or series so viewers can binge-watch.
Put playlists in visible sections on your channel homepage. Use descriptive titles and keywords in the playlist names for a little SEO boost.
This setup helps visitors find what they want faster. It also signals to YouTube what your channel’s all about, which can help with search rankings.
Using YouTube Analytics
YouTube Analytics gives you all sorts of data about your channel. Check out metrics like watch time, audience retention, and traffic sources to see what’s working.
See which videos keep people watching and which ones lose them. Use that info to tweak your content.
Look at your demographics to get a sense of who’s watching. Adjust your content or schedule if you notice any surprises.
Analytics also show where your views come from—search, suggested videos, or social media. Use that to fine-tune how you promote your videos.
Monetization and Advanced Features
It’s not just about uploading videos—you can make money and use extra tools to grow your channel. Knowing your options helps you get the most out of YouTube.
Joining the YouTube Partner Program
If you want to earn from your channel, you’ll need to join the YouTube Partner Program (YPP). You need at least 1,000 subscribers and either 4,000 watch hours in the last 12 months or 10 million Shorts views in the past 90 days.
Your channel has to follow all YouTube’s rules and be linked to AdSense. Once you’re in, you can make money from ads, memberships, Super Chats, and Premium revenue.
Approval usually takes about a month. YouTube checks your content for originality and if it’s advertiser-friendly. Keeping things clean and consistent definitely helps your chances.
Understanding Shorts and Community Features
YouTube Shorts is all about posting short, vertical videos that catch attention fast. Unlike regular uploads, the money from Shorts comes from a shared ad pool, and it depends on how many total Shorts views you rack up.
If you want to grow quickly, you’ll need to post several engaging Shorts every week. Playing around with trending sounds and adding your personal spin? That’s a solid way to pull in more viewers.
Community features—like polls, posts, or memberships—make it easier to connect with your fans. Members can get perks like badges and exclusive content, which helps you build a tighter community and, honestly, better engagement (not to mention a little extra income).
Curious about monetization? There’s a lot more to it. Take a look at the Complete YouTube Monetization Guide for 2025 if you want the full picture.
Frequently Asked Questions
Yes. A single Google account can manage multiple YouTube channels. This is helpful if you want different channels for separate niches or projects.
Yes, you can edit your channel name anytime in YouTube Studio or the mobile app. Just note that frequent changes might confuse your subscribers.
Viewers are people who watch your videos. Subscribers are people who choose to follow your channel and get updates when you upload new content. Growing subscribers is key for long-term success.
Not at all. Many creators start with just a smartphone and free editing apps. You can always upgrade later as your channel grows.
Enable two-factor authentication (2FA) on your Google account, use a strong password, and avoid clicking suspicious links. This keeps your channel safe.
It depends on your consistency, niche, and content quality. Some channels grow in months, while others take longer. Posting regularly and optimizing for SEO speeds things up.
No, YouTube doesn’t set a maximum limit. However, daily upload limits apply to new channels (usually 15 videos/day). Verified accounts can upload more.
Yes. You can either hide your channel temporarily (private mode) or permanently delete it in YouTube Studio settings.
Clickbait is when a video’s title or thumbnail makes big promises or exaggerates just to get clicks—but the content doesn’t match. It may bring views at first, but it hurts trust and long-term growth.

How to Start a Blog in 2025: From Zero to Viral and Make Money
Starting a blog in 2025? Still a smart move if you want to build an online business and create multiple income streams. You can build a profitable blog from scratch—even if you know nothing—by focusing on evergreen topics, mixing up your revenue sources, and sticking with growth tactics that actually work.Plenty of bloggers...